Growing Daylilies: A Colorful Addition to Your Garden
Daylilies (Hemerocallis) are one of the most beloved and versatile flowering plants in the gardening world. Known for their stunning blooms, easy maintenance, and adaptability, daylilies have become a favorite among both novice and experienced gardeners alike. In this article, we’ll explore the art of growing daylilies, from selecting the right varieties to caring for them throughout the seasons.
1. Choosing the Right Daylily Varieties
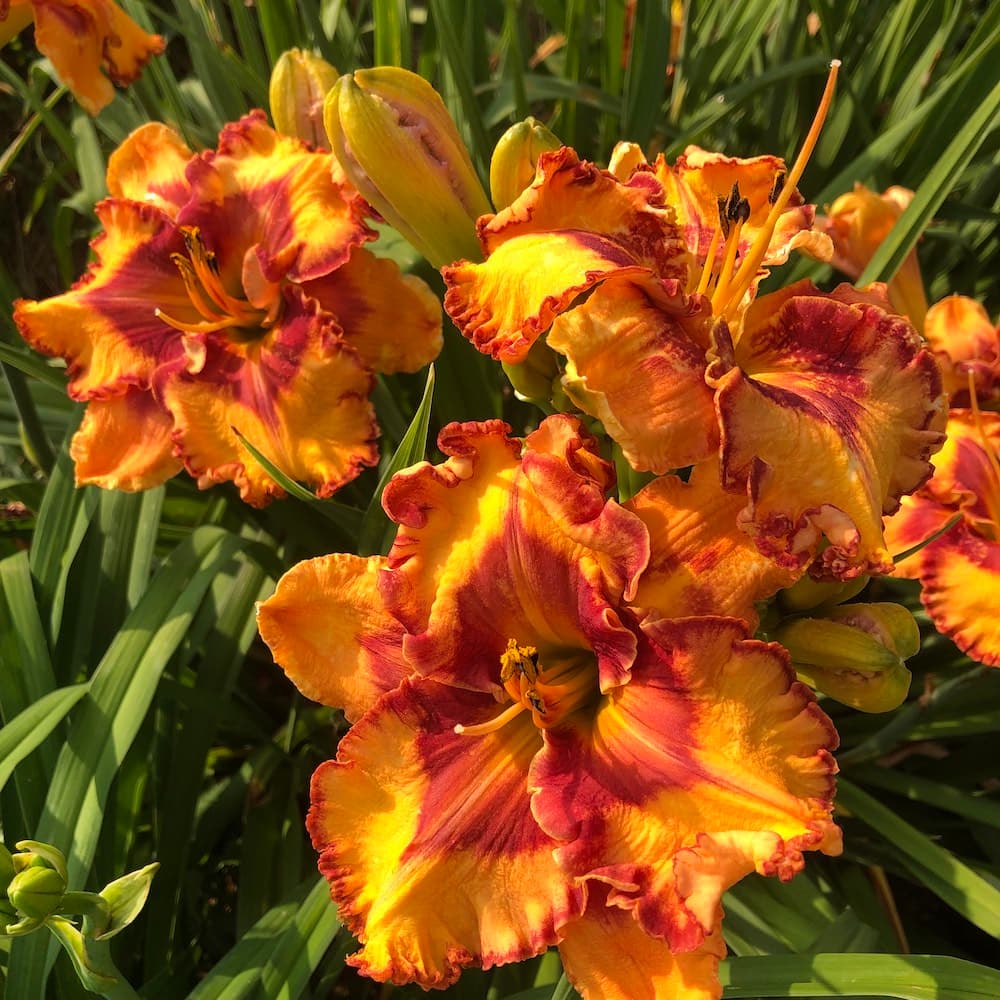
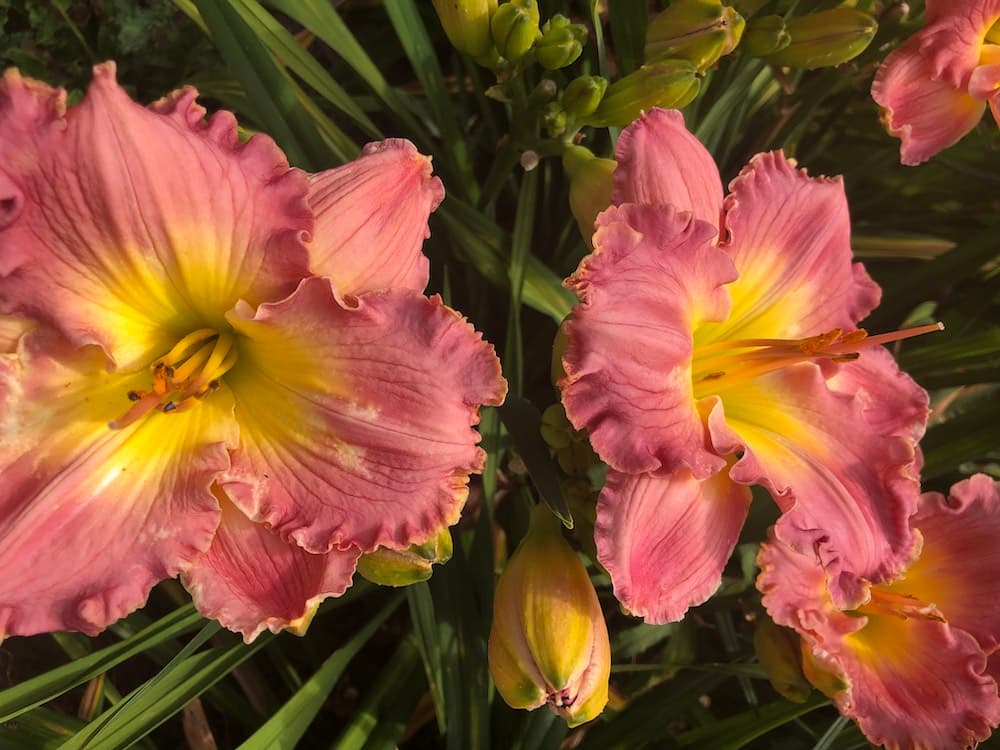
With thousands of daylily cultivars available, choosing the right ones for your garden can be a delightful yet overwhelming task. Consider factors such as bloom color, shape, size, and duration when making your selection. Additionally, take into account your garden’s location, as certain varieties may thrive better in different climates and growing conditions.
2. Site Selection and Preparation
Daylilies are generally sun-loving plants, so choose a spot in your garden that receives at least 6 to 8 hours of direct sunlight each day. Ensure that the soil is well-draining to prevent waterlogged roots, as daylilies prefer moderately moist soil. Amending the soil with organic matter like compost will improve its fertility and structure, providing a suitable growing environment for the plants.
3. Planting Daylilies
The best time to plant daylilies is during the early spring or fall when the temperatures are moderate. Follow these steps for successful planting:
- Dig a hole that is wide and deep enough to accommodate the daylily’s root system comfortably.
- Place the daylily in the hole, spreading out the roots and making sure the crown (where the roots meet the foliage) is at soil level.
- Backfill the hole with soil and gently firm it around the plant.
- Water thoroughly to settle the soil and remove any air pockets.
4. Watering and Fertilizing
While daylilies are relatively drought-tolerant once established, they will benefit from regular watering during dry spells. Water deeply but infrequently to encourage deep root growth. Applying a balanced fertilizer in the spring and again after the first bloom can help promote healthy foliage and abundant blooms. Always follow the instructions on the fertilizer package to avoid overfeeding.
5. Pruning and Deadheading
Daylilies are known for their prolific blooms, but each flower lasts only a day. To keep your daylilies looking tidy and to encourage continuous flowering, deadhead (remove spent flowers) regularly. Additionally, prune away any yellowing or damaged leaves to maintain a neat appearance and prevent diseases.
6. Dealing with Pests and Diseases
Daylilies are generally hardy plants with few pest and disease problems. However, they can be susceptible to pests like aphids, spider mites, and slugs. If you notice any infestations, treat them promptly with appropriate organic or chemical solutions. Proper air circulation and avoiding overcrowding will also help prevent diseases like leaf spot and crown rot.
7. Division and Propagation
After a few years, daylilies can become overcrowded, leading to reduced blooming. To rejuvenate the plants and maintain their vigor, consider dividing them every 3 to 5 years. Division should be done in early spring or after flowering in the fall. Simply dig up the clumps, gently separate the individual fans, and replant them in prepared soil.
Conclusion
Growing daylilies is a rewarding experience that adds beauty and charm to any garden. With their wide range of colors, shapes, and sizes, daylilies are sure to delight and captivate any gardening enthusiast. By providing the right growing conditions, regular care, and a little bit of love, you can enjoy these resilient and stunning flowers for many years to come. Happy gardening!
Ready to grow your own?
Browse 450+ Daylilies